 As you know from yesterday’s post, I’m headed to British Columbia and that means I’ll likely be chucking some sinktips.
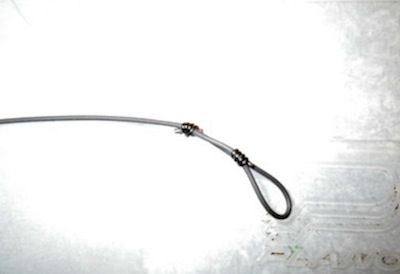
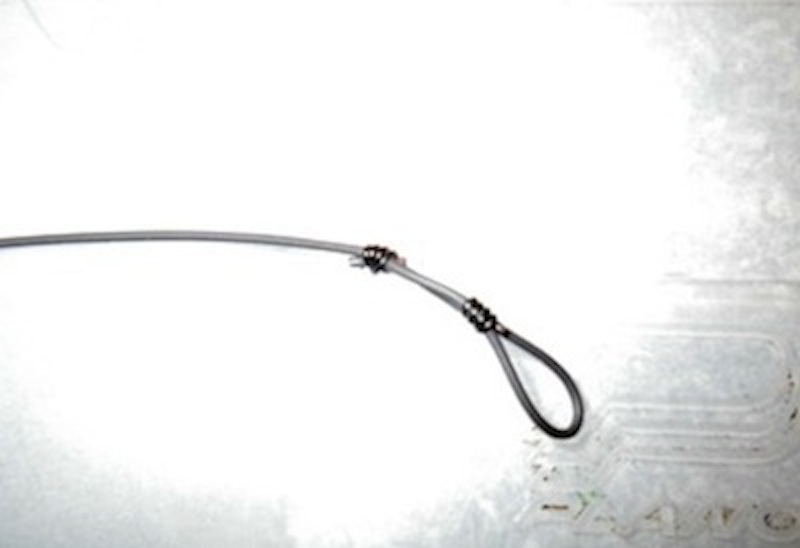
Making loop connections has always been an issue for me, especially on the water, but with a nail knot tool I can now make great loops that hold steady, even on larger fish. Alaska West Lodge/Deneki Outdoors offered a very informative blog post recently and I wanted to direct it to all of you sink-tip addicts so that you, too, don’t run into issues if you have to manipulate a tip, on the water, for the conditions you might encounter. Super useful to know. Thanks to the boys at AK West for providing.
Here you go from Deneki Outdoors A second installation in our sinktip strategies novella, here’s a looping method that began as what Alaska West guide Jeff Hickman dubbed a ‘bush fix,’ and has since become one of the two main ways we’re custom building on-the-river sinktips to suit the current conditions.
First off, get yourself about 40 feet of Rio’s T-whatever. It’s all good, as are Airflo’s 20’ Custom Cut Sinktips, which might be even better given the placement of welded loops on each end of the 20-foot chunk. Put either in a baggie, inside your fishing kit. That way, it’s ready when you are.
Once on the river, determine the sinktip length based on your wingspan. We’re serious here. If you’re about 6’ tall, stringing out a section between your outstretched arms should get you roughly 6’ of T-whatever. Do this twice and you have a 12’ tip, a decent place to start. Add about 3 inches on each end to compensate for the loop and cut with your nipper.
Then, grab your nailknot tool. On one end, double the sinktip back on itself 3 inches. With 20-lb Maxima, place one Read More
